This is my game: https://sair-strike.itch.io/cloaks-of-the-deceitful
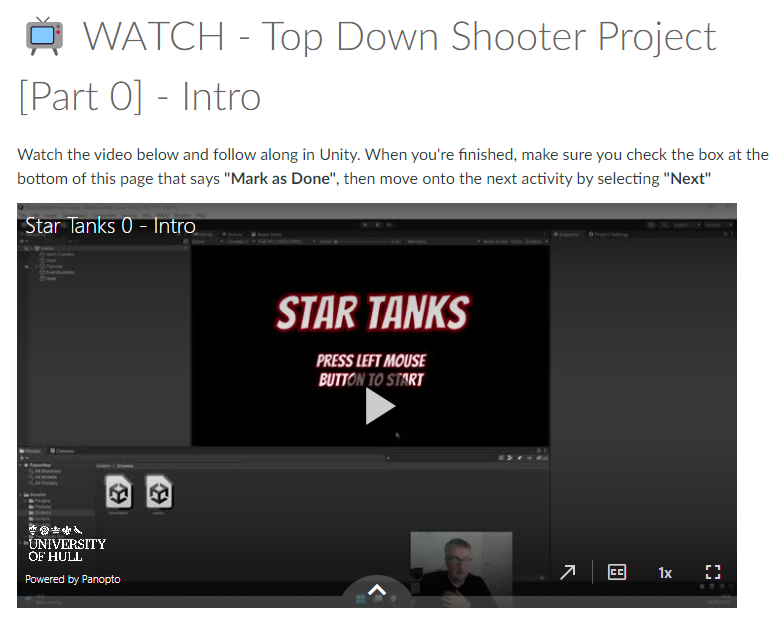
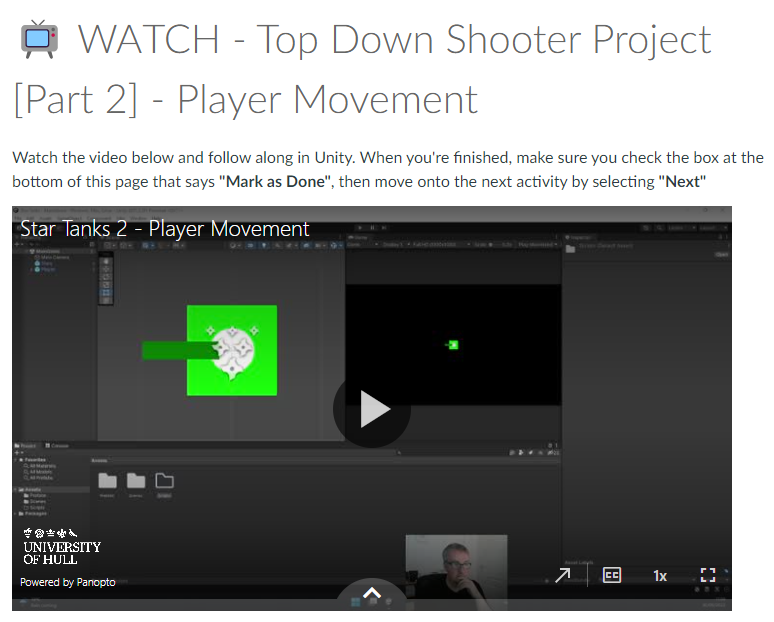
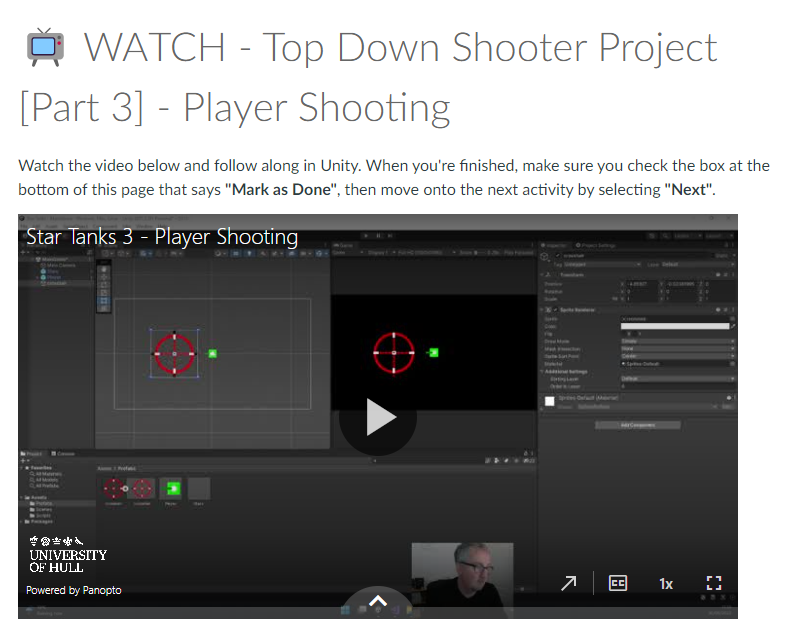
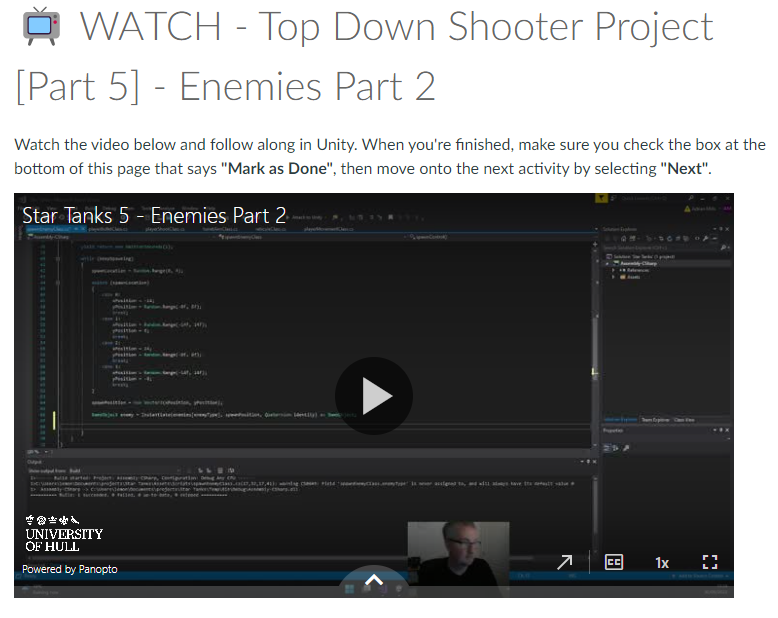
For this Week, I was given a task to make a top down shooter game where I used videos as guidance for the making of the game. I like following the videos in step by step order because it visually shows me what I needed to do.
Those videos helped me to create the game. With little issues, I managed to make a game with my own twist in the aesthetics of the game. I followed every video to the point. When creating the characters, enemies and the projectiles, I used photoshop. I had a good time creating the characters.
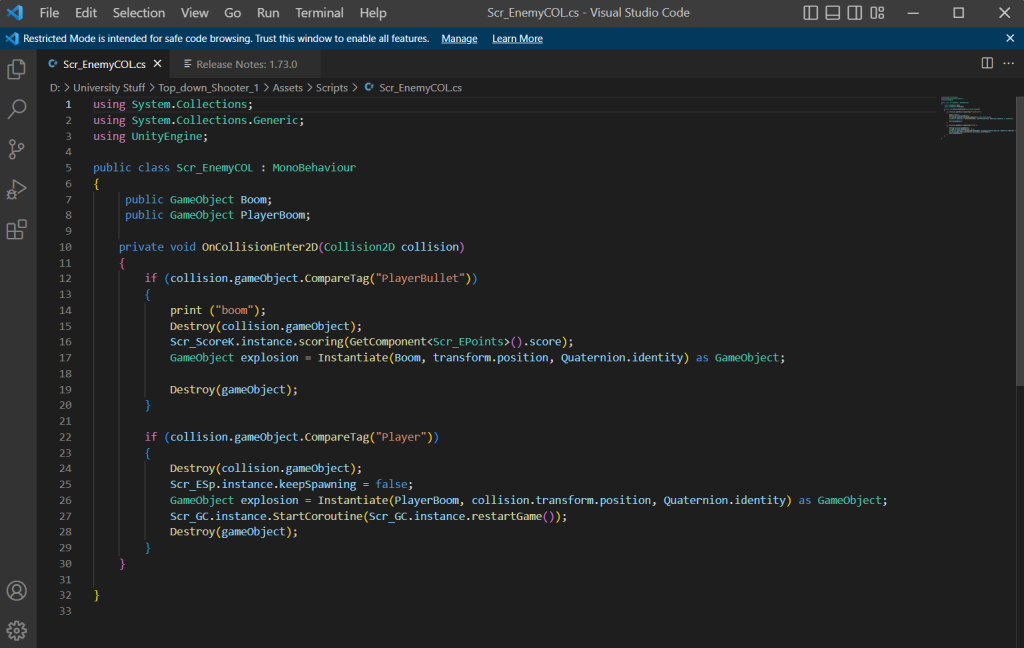
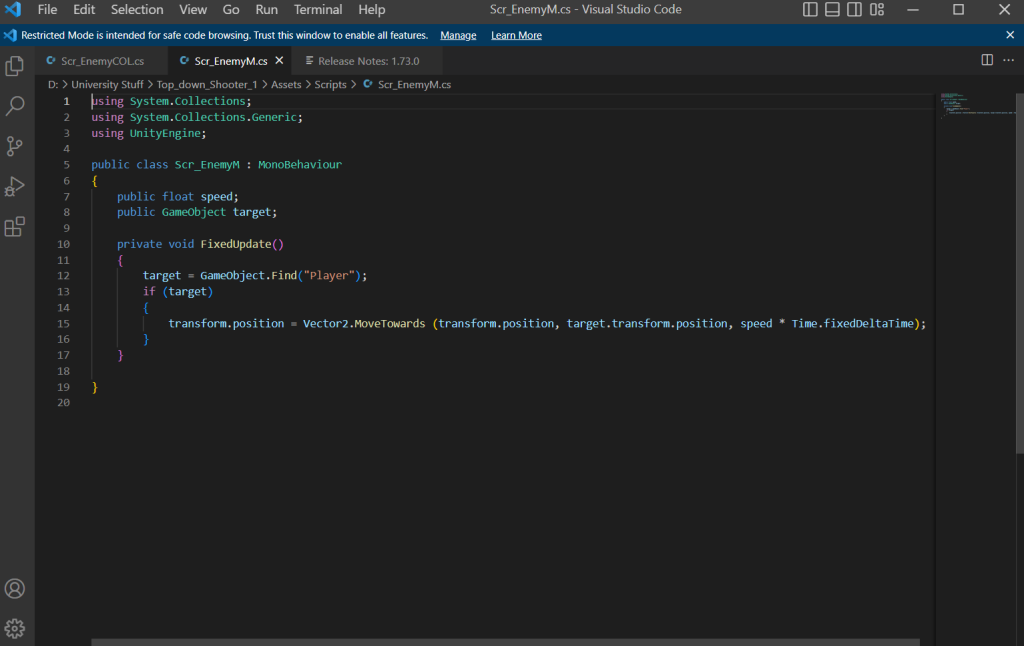
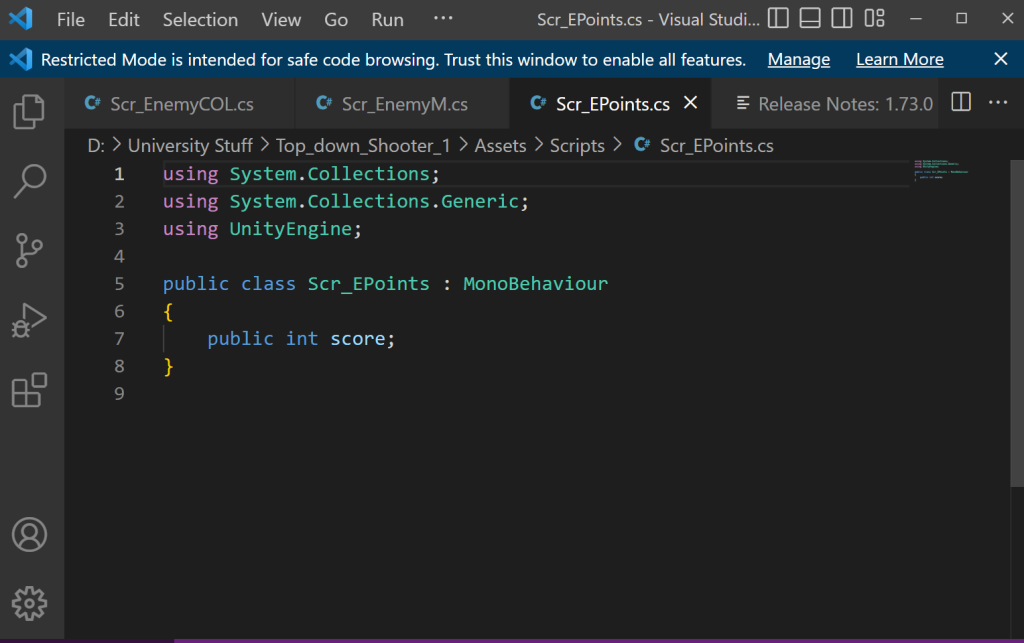
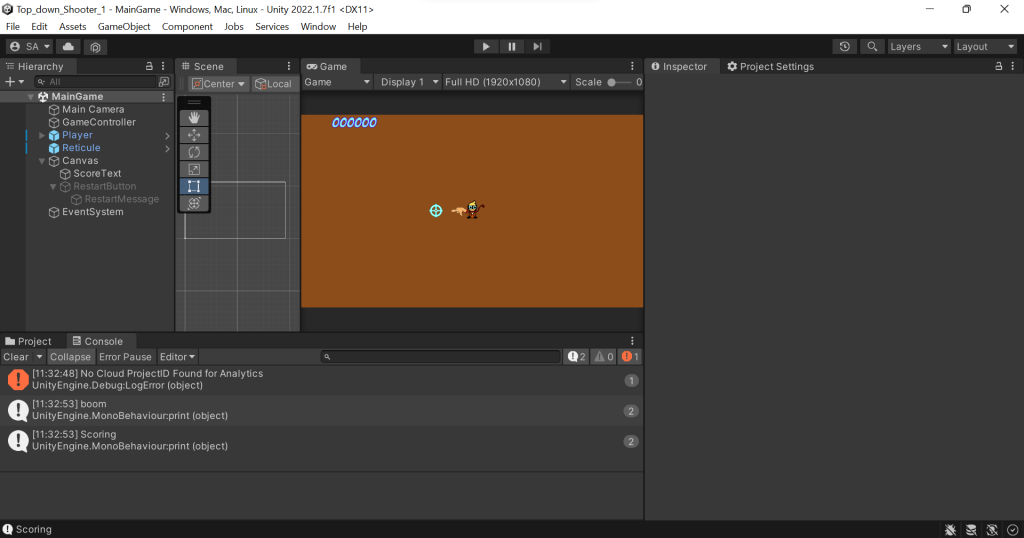
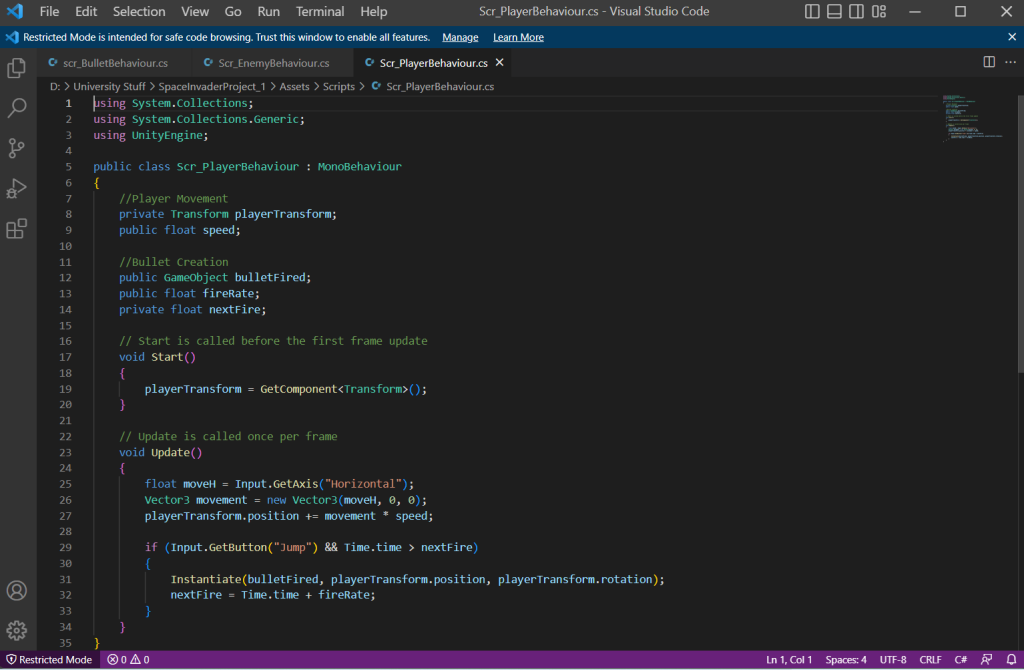
The theme for my Top down shooter is a child being left at a haunted theatre by his careless parents and what haunts the child is floating masks that resemble the Muse Masks of tragedy and comedy. When creating the scripts for the game I followed the video to the point and went back multiple times in case I accidently miss anything. I did have some struggles, examples mainly include misspelling within the codes resulting in the code not being able to work.
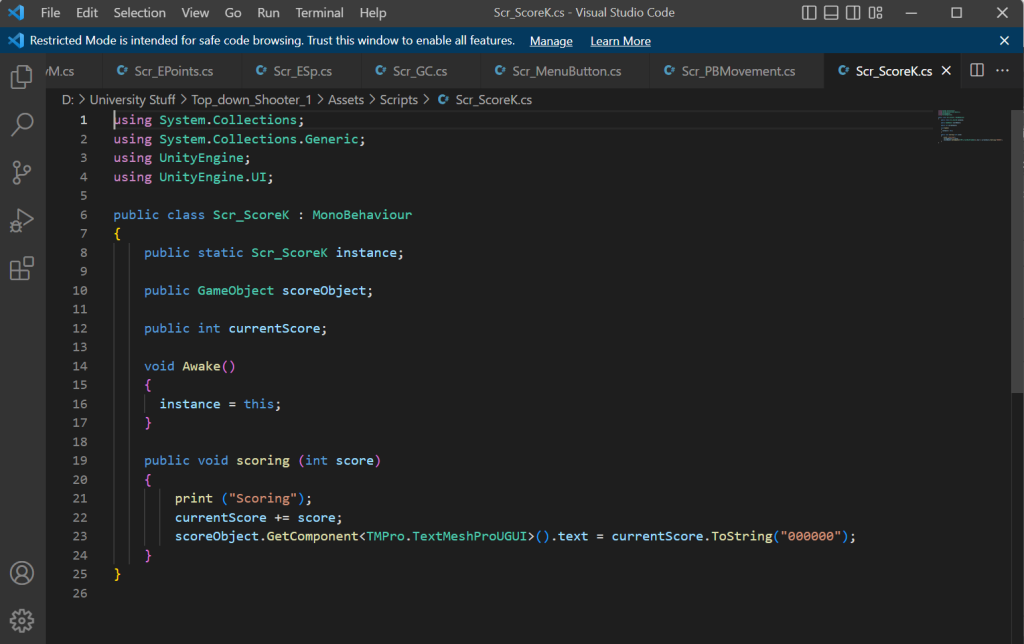
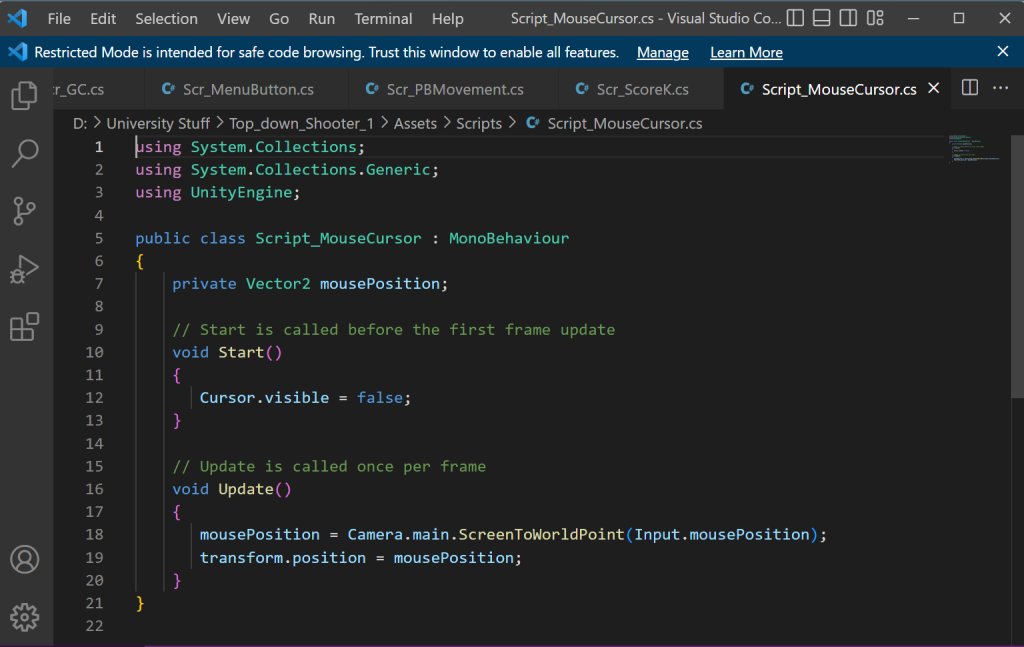
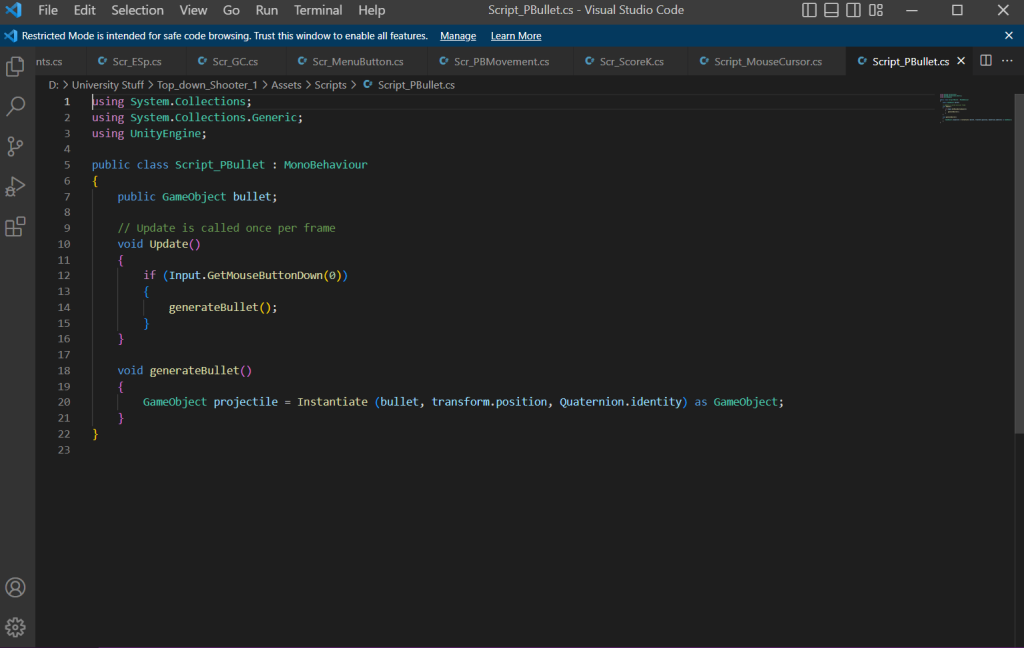
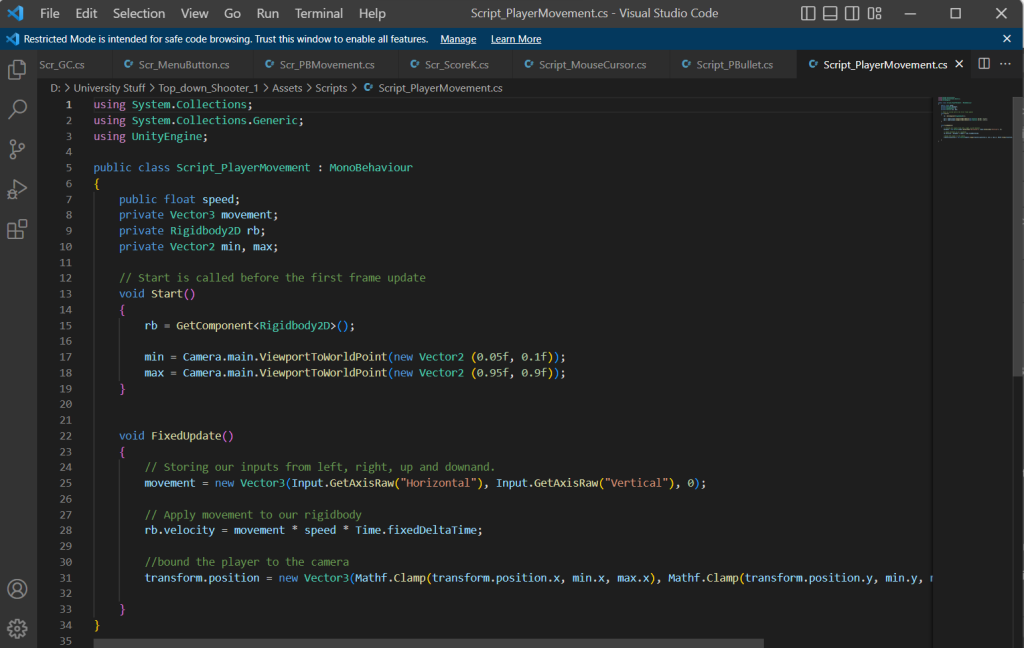
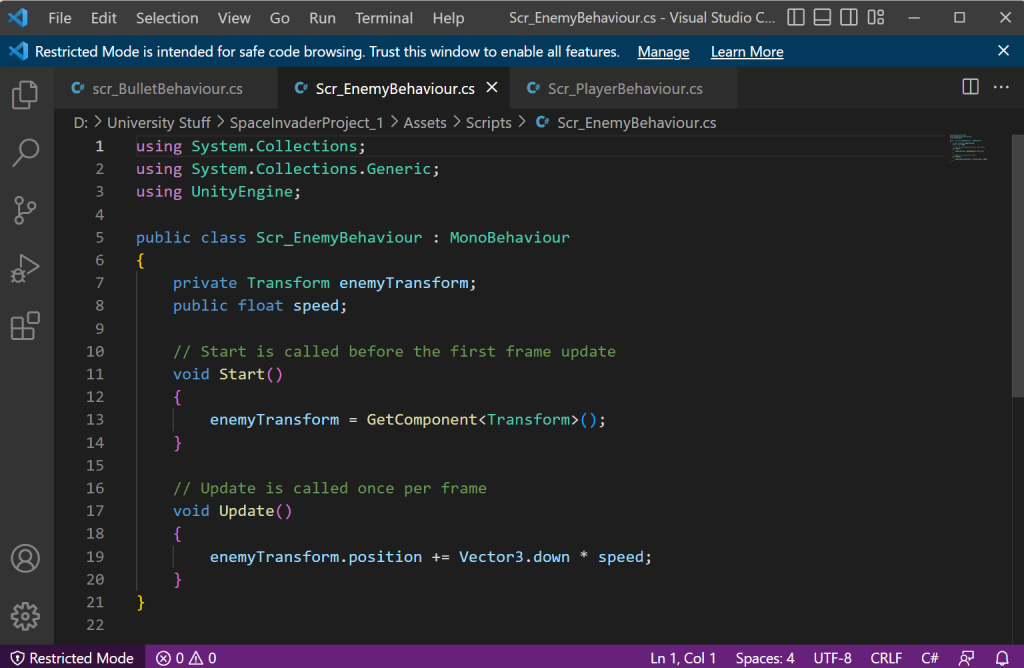
In this project, I have created twelve different scripts with various functions. Those functions include enemy movement and behaviour, player movement and behaviour, bullet movement and behaviour and other functions and aesthetics. I felt I have put more effort and work into this project than anything ells. Which I am proud at.
I did have an issue where I made a functional script but it wasn’t working for some reason. The solution to that is because the script wasn’t saved properly even though I did save and it might be a bug.
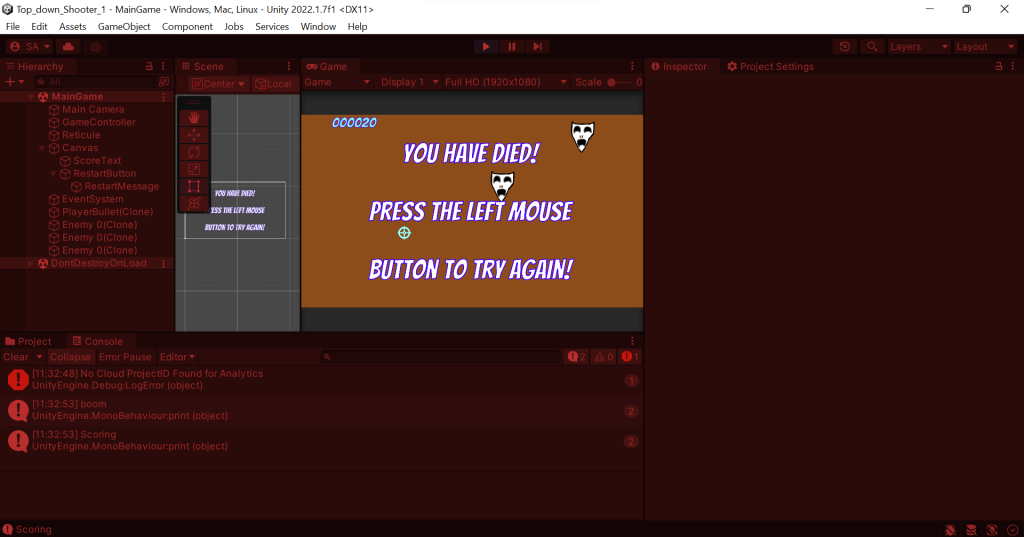
When I finished off the final bits of the game, I was about to post my game on Itch.io. I had some dimensional issues and an issue that involves me in creating a new HTML build and put that file into the exporting box. I am so proud in myself when making the game.
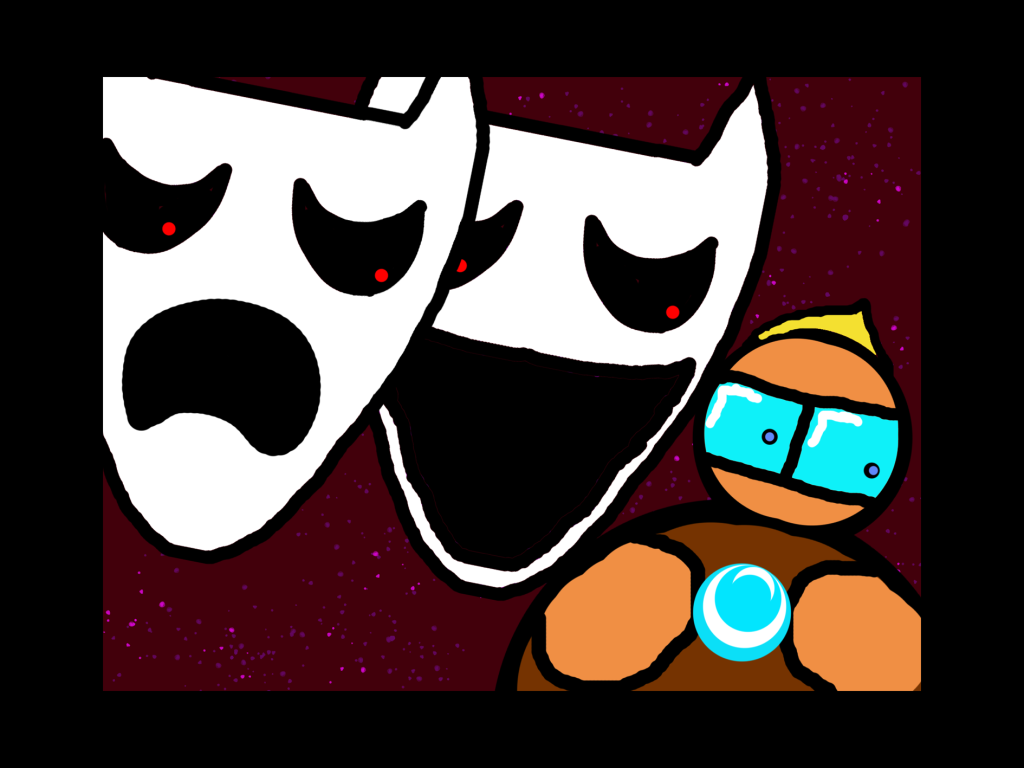
When posting the game online, I had to make a nice looking thumbnail for my game and this was what I created:
This thumbnail portrays what happens in the game by showing the two villains chasing the hero. The Smiley is catching up because it’s faster in game. Overall I really enjoyed making the game and I have received feedback including the explosion for the enemy fits a big part of the screen and the how to play part of the game isn’t specified resulting in me saying how to move or shoot. I felt that did very well in this game and learned some new things too.
This is my game: https://sair-strike.itch.io/astral-assailants
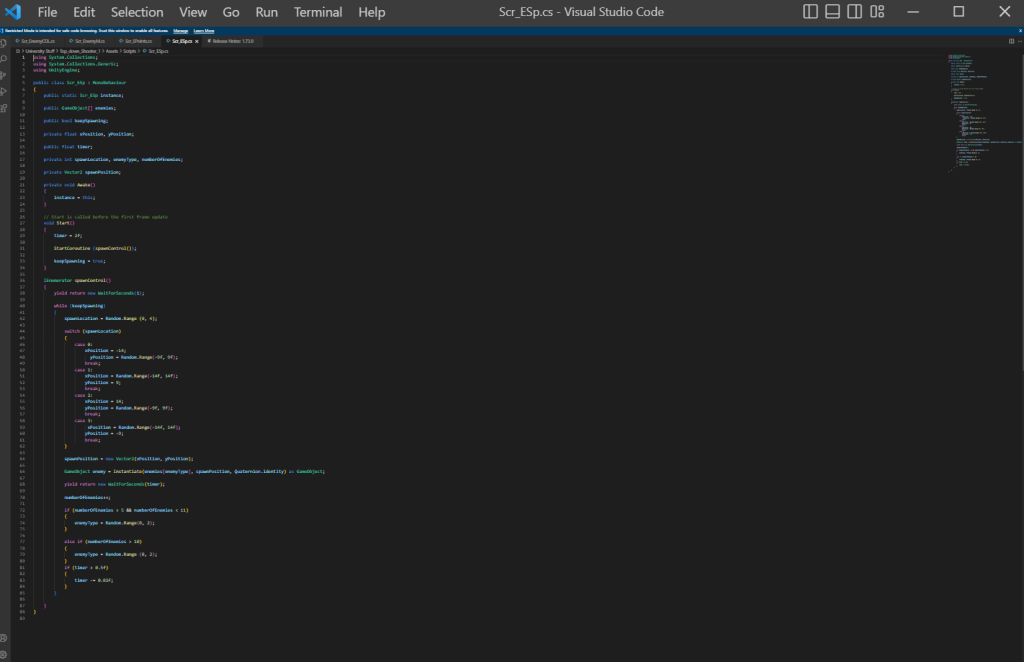
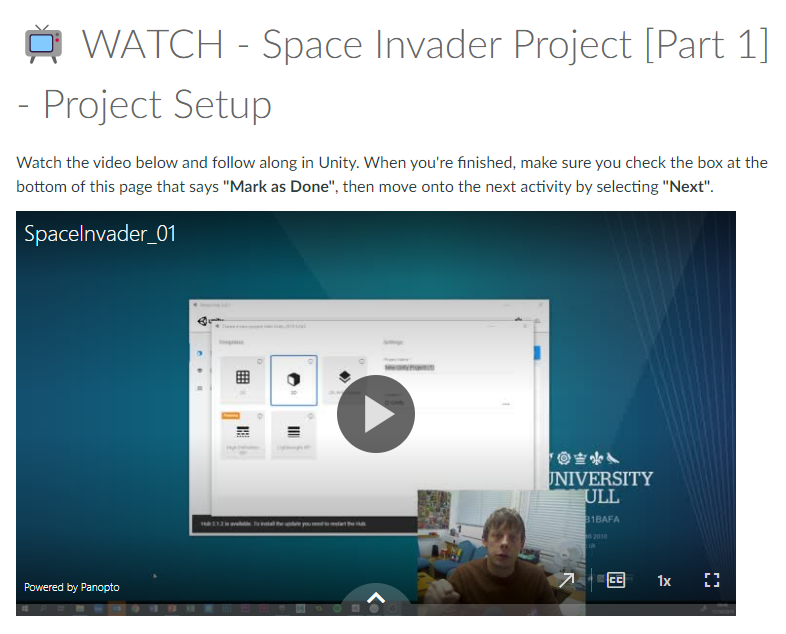
For this task, I started off the space invaders game by following the videos to the point. The videos were easy to follow and I went through each and every step to get the best outcome. There were significantly less videos than the cookie clicker module.
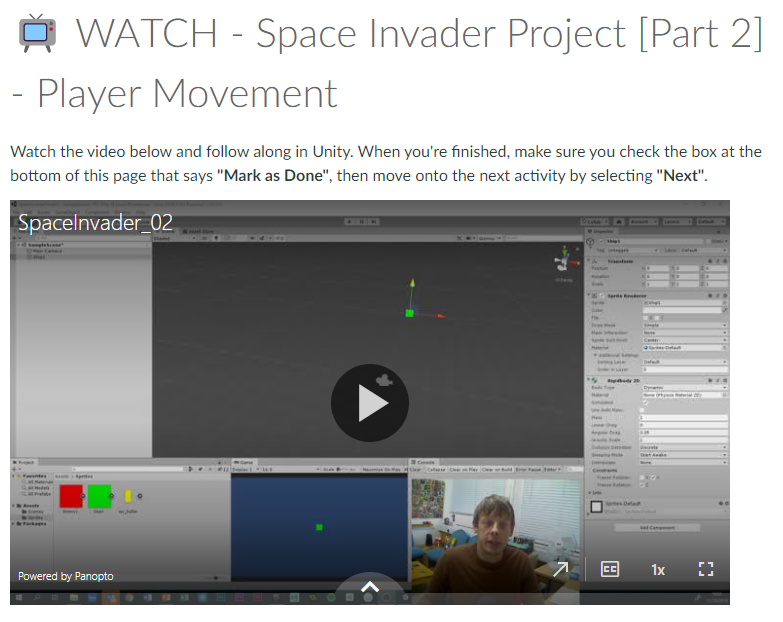
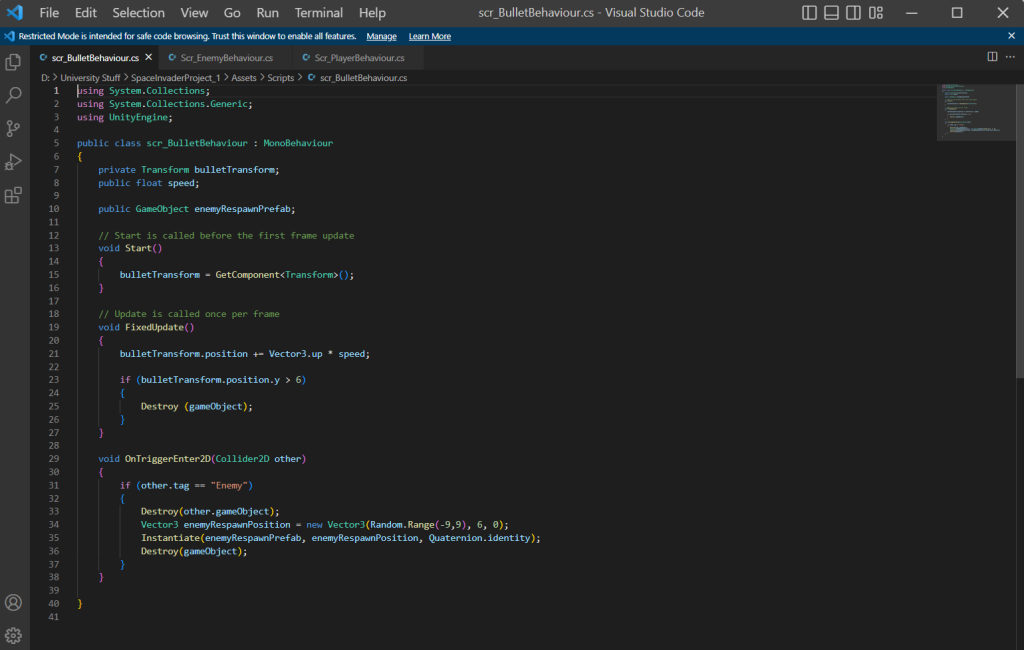
Those videos above helped me understand the process of creating the space invader game and surprisingly, I managed to make a fully functional game with little problems. The videos taught me how to make create behaviours for the player, enemy and the bullet. I used scripts to create the mechanics of the game. I made a Player behaviour script, an Enemy behaviour script and a Bullet behaviour script. Using a bit of my knowledge from the cookie clicker game, I felt more confident in making the space invaders game. Also with the help of the videos shown to me I was able to create the scripts with ease.
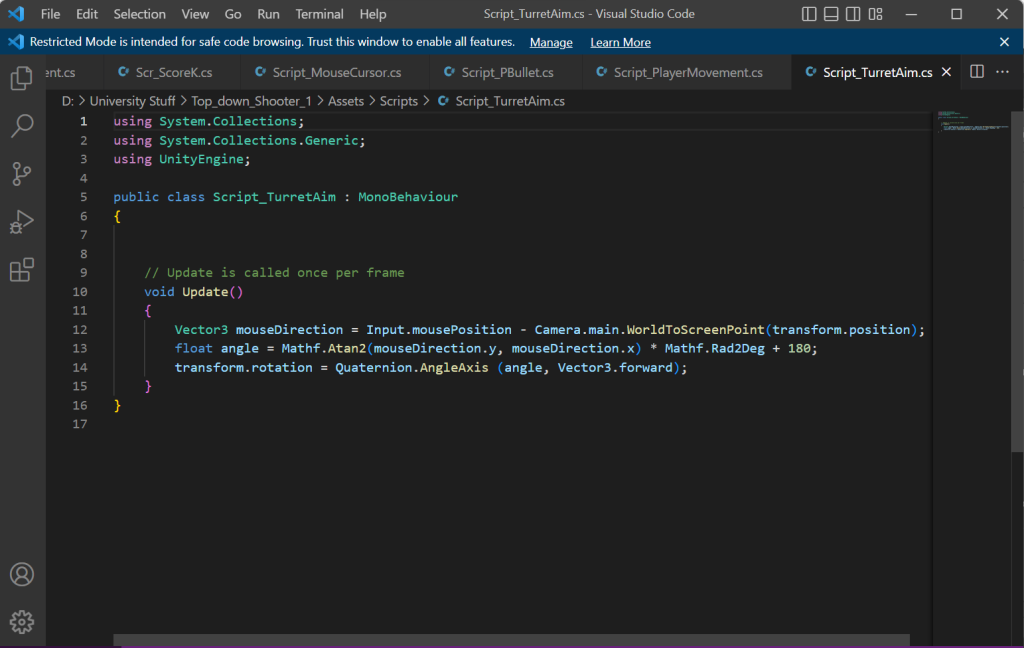
I followed the video tutorials given by my lecturer and made a functional basic space invaders game. Overall it was easy and I had very few issues with the making of the game. The video steps given to me to make this game is so easy to understand I managed to make this game within a day. I felt that I can do more even though I completed every task. Examples of doing more is making the game look good by creating ship sprites and make the enemy ships respawn back on top of screen when they hit the bottom of the screen. Those small things (that is not mandatory to add) could make my game slightly better and could help me learn more on how to make my own games.
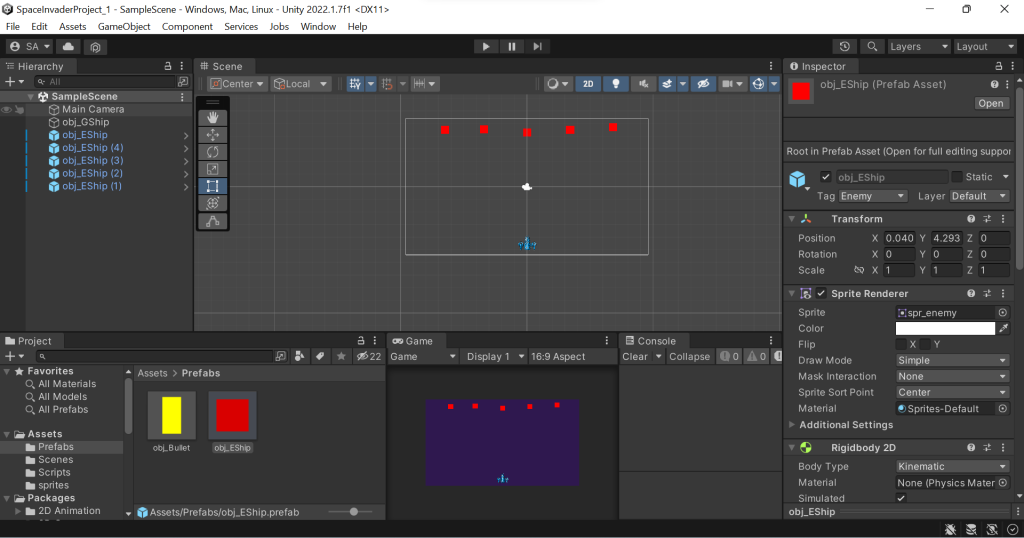
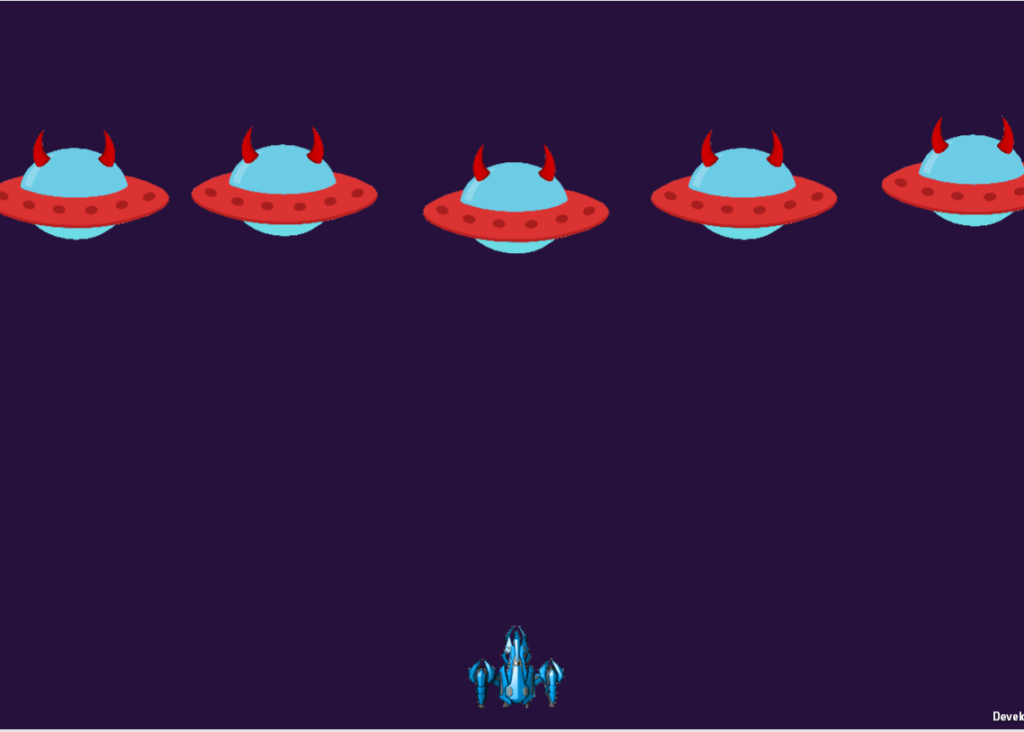
I have successfully given my player character a customised spaceship and have assigned the sprite onto the the player and it was successful. The enemies however, is harder to implement the sprite because when the player shoots them, the image reverts back to it’s original size when it was implemented. Secondly, I tried to make the enemy ships respawn when they hit a certain co-ordinate on the y-axis by creating the same line of code from scratch using inspiration from the bullet behaviour script where it destroys the bullet when it reaches at a certain co-ordinate on the y-axis. But that didn’t work. I plan to solve these issues by showing my lectures the issue and go through with them on completing the game and putting it on Itch.io.
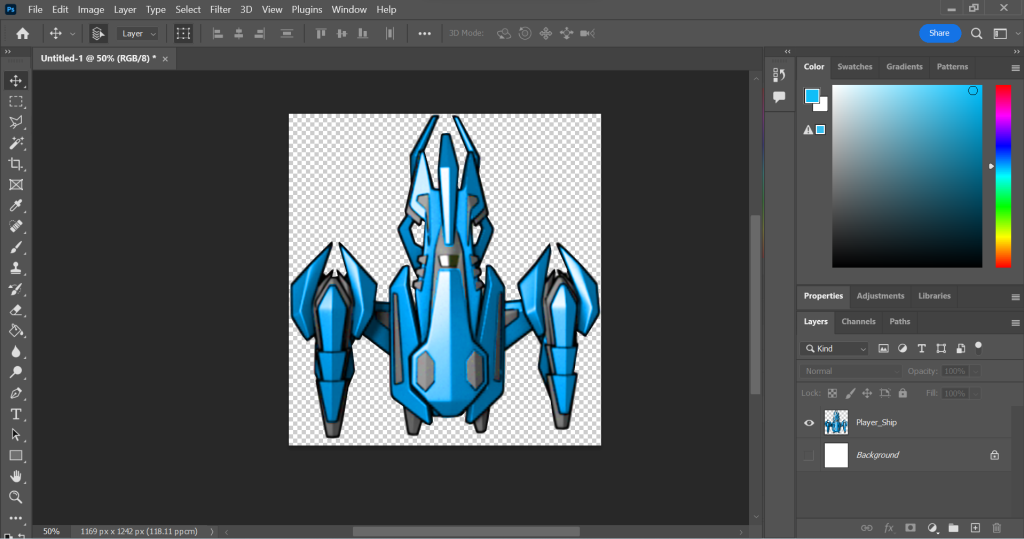
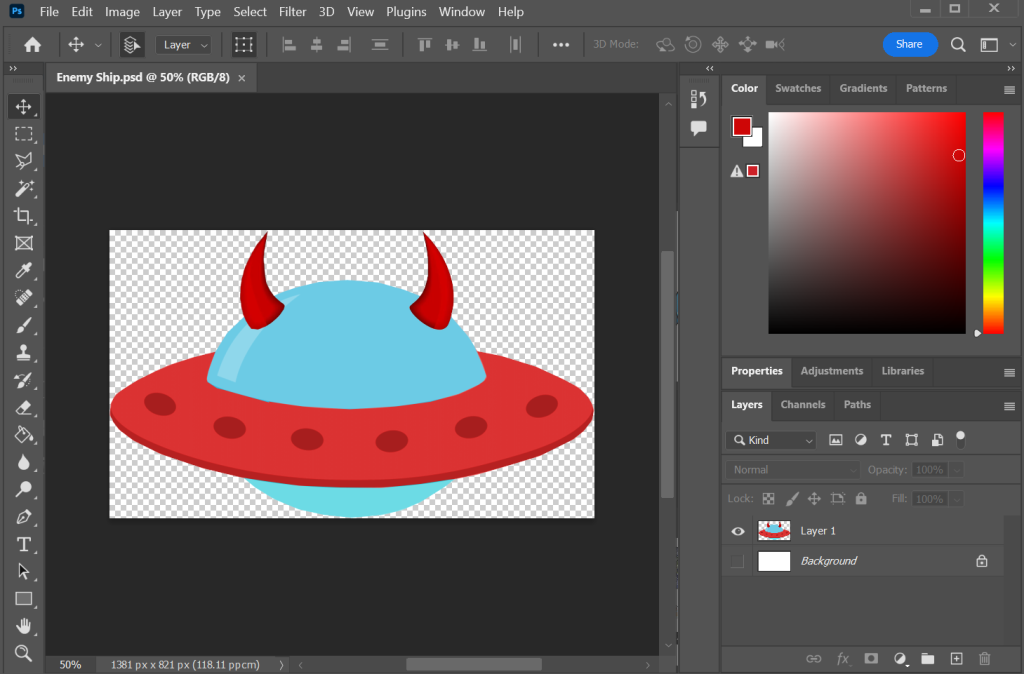
I have managed and succeeded in implementing new features that would make my game look and feel better to play. The first addition was to give the enemy and the player a new look. I have found an image for the player and the enemy on the internet. I have also edited the those images and added my own creativity within them. For example, the player and the enemy have different colour pallets. Blue for the Player and Red for the enemy. Blue mainly signifies sincerity, loyalty and good. Red on the other hand, signifies danger, anger and evil.
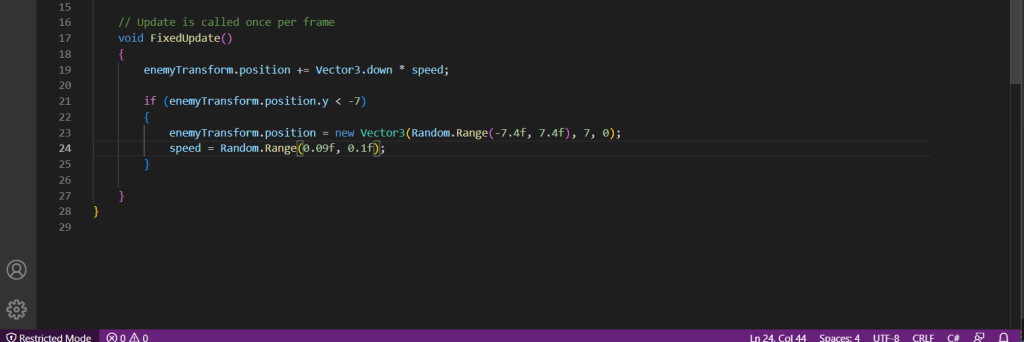
Implementing the image onto the enemy prefabs was an easy process. I drag the image into the sprite and change the size in the prefab transform scale tool. Also when it spawns, it stays the same size after I shoot it. I also added a function within the Enemy behaviour script and written a line of script so that every time the enemy reaches at a certain point on the y-axis the enemy respawns above the screen at a certain y-axis. This is what the code new line looks like:
Now that I have fully made a game, I went through the process of putting it on a website. I have followed the previous tutorials on how to do so and have successfully posted my game on the website. Overall, I enjoyed making the Space invaders game and it helped me understand more about scripting and visuals within the unity software. I am also proud of my self in the outcome of the game.
I have shared my game with my family and I got a range of feedback. Those include: the game will be better if it had a pointing system. They felt that there should be a consequence to what happens when enemy ships touch the player resulting the player feeling more engaged to play the game. All the adrenaline that your player can get destroyed by the enemy ships is key for engaging the player and making the person feel that it’s important to be protected by moving left and right and avoid being destroyed but in reality the enemy just phases through the player and does nothing.
They included that there should be boundaries for how far (to the left or to the right) the player can go in the game. The issue is that the player can go infinitely left or right and go off screen when playing the game.
They said a variety of enemies and creating a pointing system that adds different amount of points depending on the type of enemy. For example, smaller ships are harder to hit and therefore gives more points than the normal one when shot. They also suggested different colours for the different enemy types to make the game more engaging.
Furthermore, they talked about how that the game can look more interesting if there is an effect when the enemy space ships get shot. Like a mini explosion particle effect. Lastly, in terms of the audio, some preferred the game to be mute and others preferred it to have music to make it memorable.
Overall I have enjoyed making the game and going through a process of creating it’s functions. I did have struggles, but I have overcome them and learned from them.
This is my Game: https://sair-strike.itch.io/mine-clickers
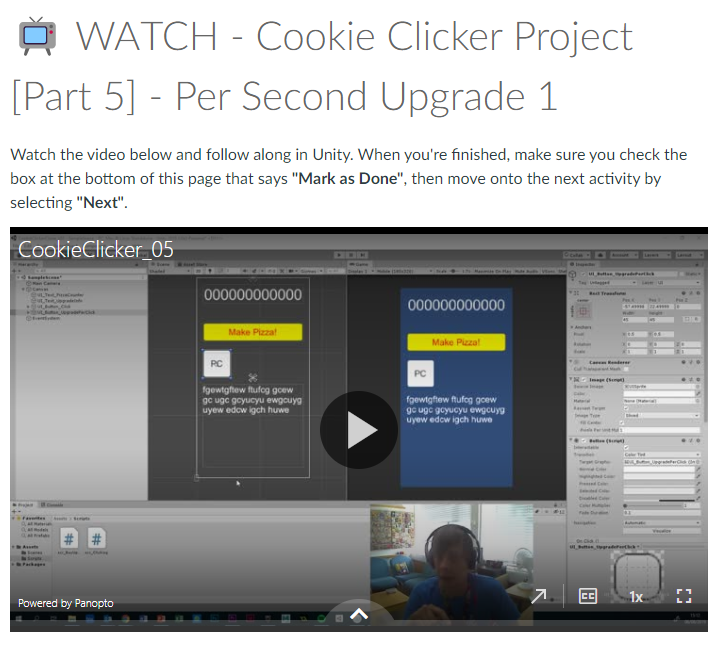
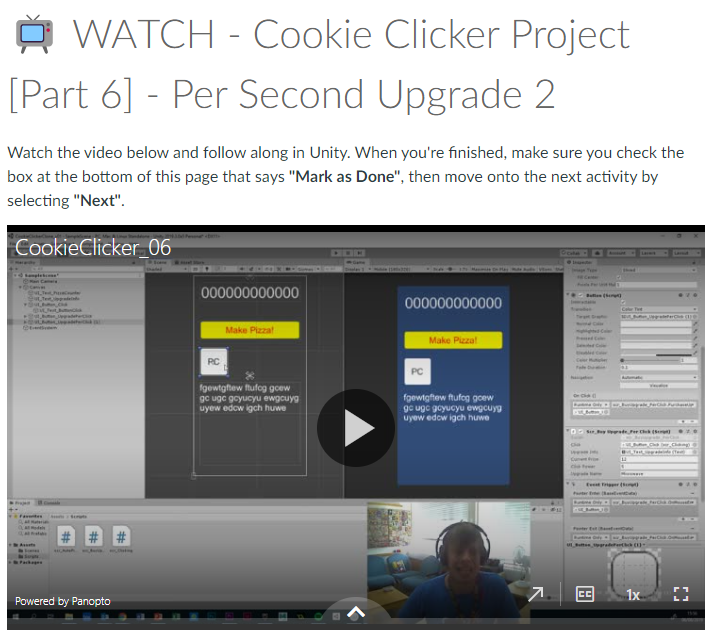
For this week, I was given a task to fully create a cookie clicker game on unity and publish that game on a website called itch.io. When being introduced with the task, we where learning how to create the building blocks of our game. We where sent video step by guides on how to make our own cookie clicker game made by one of our lecturers. Those videos gave us an in-depth view on how we start working.
Those videos helped me understand and familiarise the functions, scripture and the software itself. The contents of those videos include the introduction, UI Setup, Scripting, Function linking and finalising for release. During this period, I have learned how to use unity to create an interactable UI using scripts guided to me using the videos. I have learned how to add components to the buttons I need to make this cookie clicker game and have learned how to use scripting within unity by following the video to the point. I also learned that scripting is very strict meaning a single character out of place or missing, the entire script wont work.
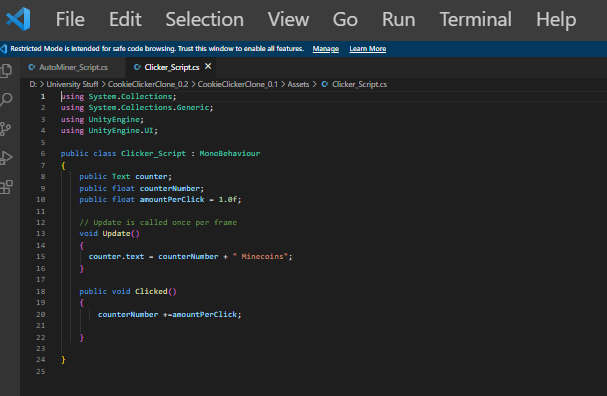
This is an example of one of my scripts I made using the video tutorial’s guidance. When making the scripts I was copying the layout of the script character by character. But I do change the script to make it fit to my game. I did have a lot trouble with understanding unity and it’s complex features and the process was very stressful. I also learned when editing the script and I get something wrong, unity tells me where the mistake is by telling me the line number and the word location. This is very helpful when fixing the problem and when you double click on the error, it will take you to the exact area that is causing the issue.
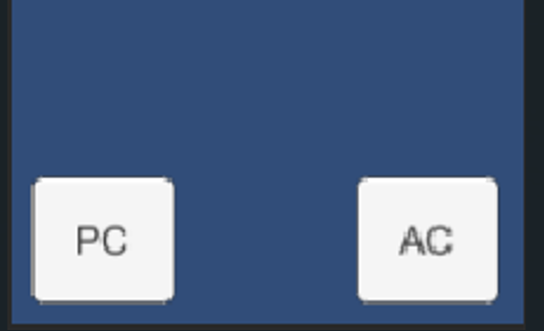
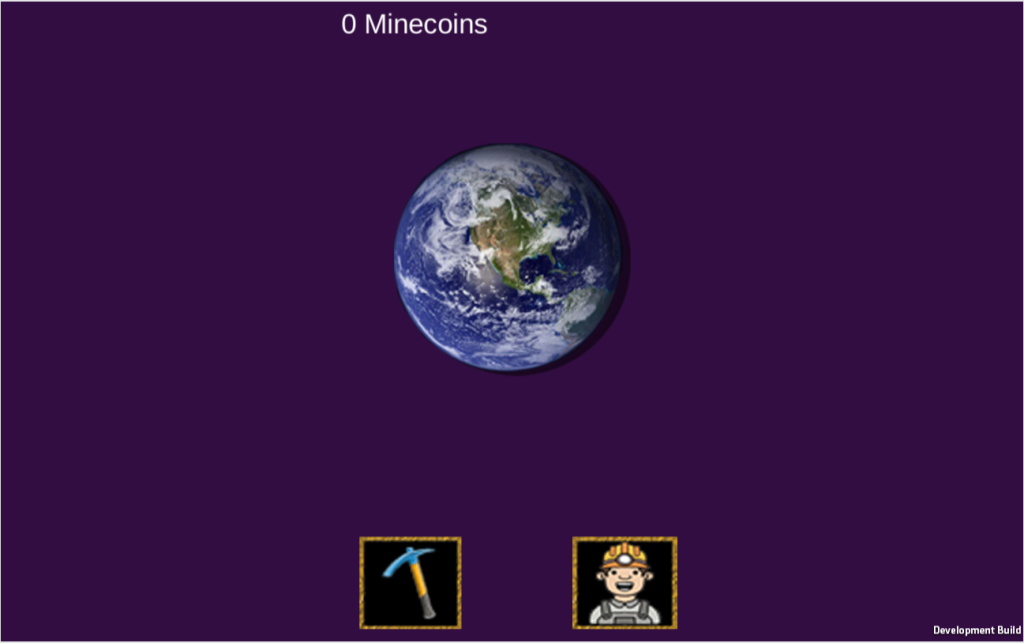
I managed to create a working main button for the clicker game and have added a counter to show how many Minecoins the player has. I made so that every time you click the main button, the counter goes up every click with the help of scripts. Furthermore, I have created more buttons categorised as upgrade buttons. I have followed and took close attention to the video tutorial that talks about coding and creating the scripts for the upgrade buttons. Overall I have made two different (named PC and AC) buttons one allows you to purchase to gain more when you click on the main button and the second button allows you to purchase a miner that adds 1 Minecoin every second automatically.
I got to a point where I have completed the scripting and functional part of my game. I was ready for the final looks and the publishing of the game. The video I was on talked about how to implement a sprite on a button. I have created a sprite on Photoshop and made a button. When implementing the sprite onto the PC button, I tried to test the game and the button didn’t work for some reason. I tried to figure out the the issue by myself and I couldn’t. I later found out that the PC button functionality has disappeared. I still had no idea how to fix the issue and have decided to get support from one of my lecturers, Stuart. Me and Stuart decided on me taking my laptop to university so I can use unity without any saving issues since I’m using the same computer.
So I brought my laptop to university and attended the lab work session. Me and Stuart looked into the cookie clicker unity file and found out that I had multiple issues with the unity file. First of all, I have added an un necessary amount of functions within my unity project which is cluttering the canvas. I have fixed the issue by deleting those functions that do nothing to the game and clutter the file and maybe slow the game. The second issue was something to do with the auto Miner button which is the button named (AC). When I start the play test the game started by adding Minecoins every second. I fixed this issue by removing the adding of plus one in the auto mine feature that starts as soon as you start the game. The third and more important issue was the button sprite problem where the button didn’t work anymore. I have somehow deleted the functionality when adding the sprite. The solution to that is to ad a new button component and add the script like I did before. I have to add a component, search for the button component and find the script assigned to it, and find the purchase when clicked function. The problem seemed hard and incomprehensible but it ended up having a surprisingly simple solution.
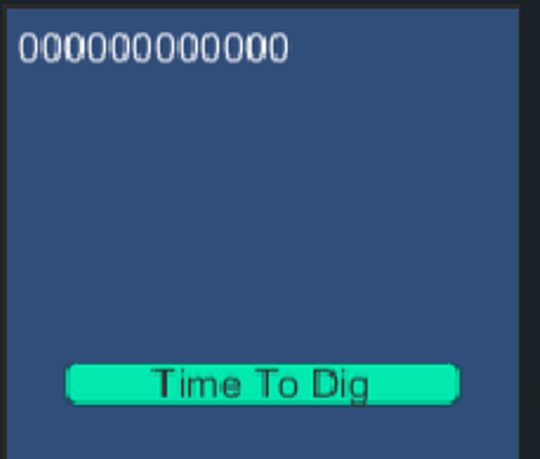
I have fully designed the game and created the icons and buttons and coloured the background to fit the style:
For the final part of my project is to post it on a website. I have followed the final video step by step guide showing me what to do. I have made a build and saved a HTML version of the unity file. I had to get a software called WEBGL to able me to get the HTML version of my game. I created my own Itch.io account and went through a process of implementing my game onto the website. I was very successful in completing that task.
I have given my family a try at my cookie clicker clone and they said that they liked the colours, style and the functionality. They also said that it’s great for my first game. They also said some feedback. Those include: there are some inconsistency of the upgrade info, where the mouse hovers and behaves differently and the info ends up staying on screen if its a touchscreen device. The Minecoins counter is left oriented when at full screen. They said that they are collecting Minecoins outside the world button.
They also said a quality of life improvement for example a price tag of the current prices of the upgrade buttons will be useful to be displayed all the time. Overall, I enjoyed making the game and learning to overcome issues with the unity files. For a first time I was indeed struggling understanding some mechanics of unity. But I enjoyed the scripting as long as they work as planed. I have learned to be more independent in myself and remember that the toughest problems may have the simplest solutions.
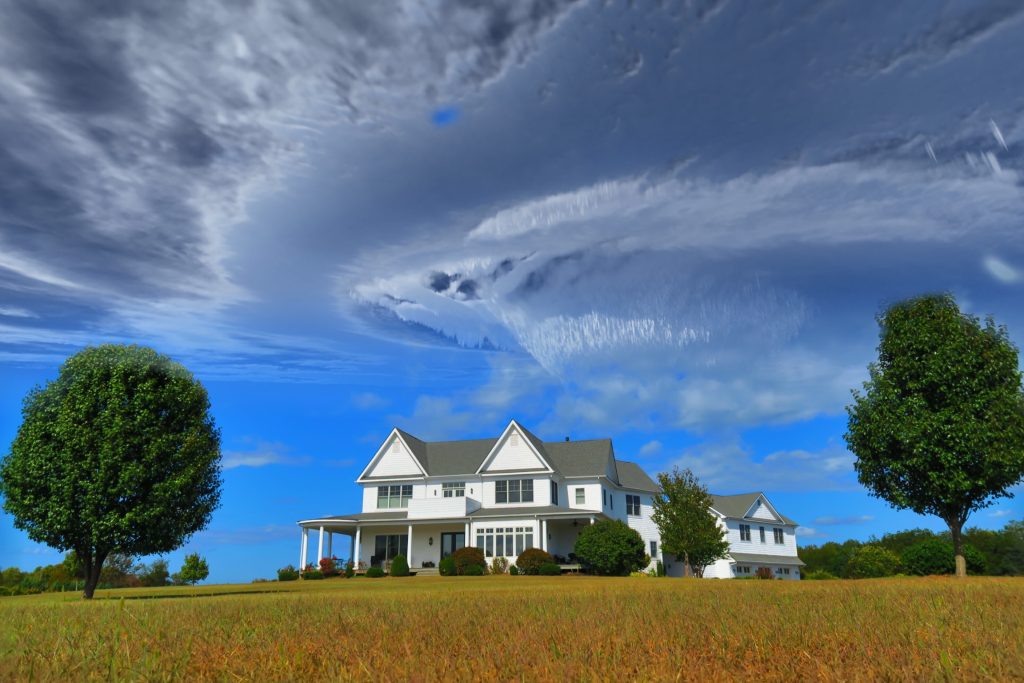
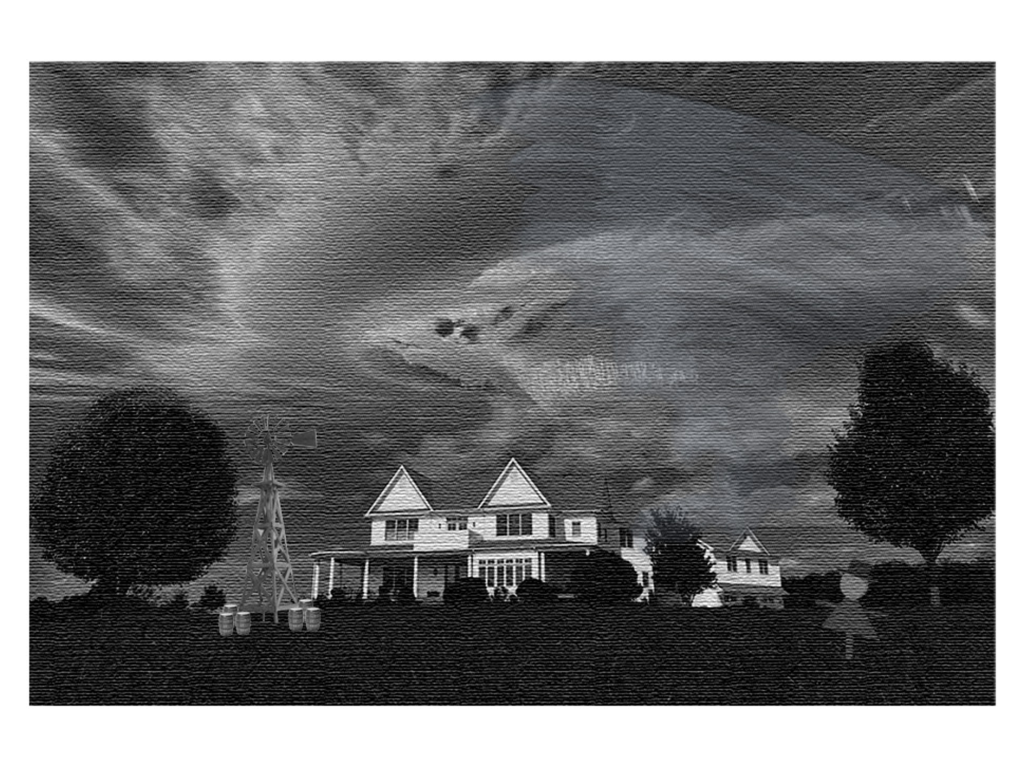
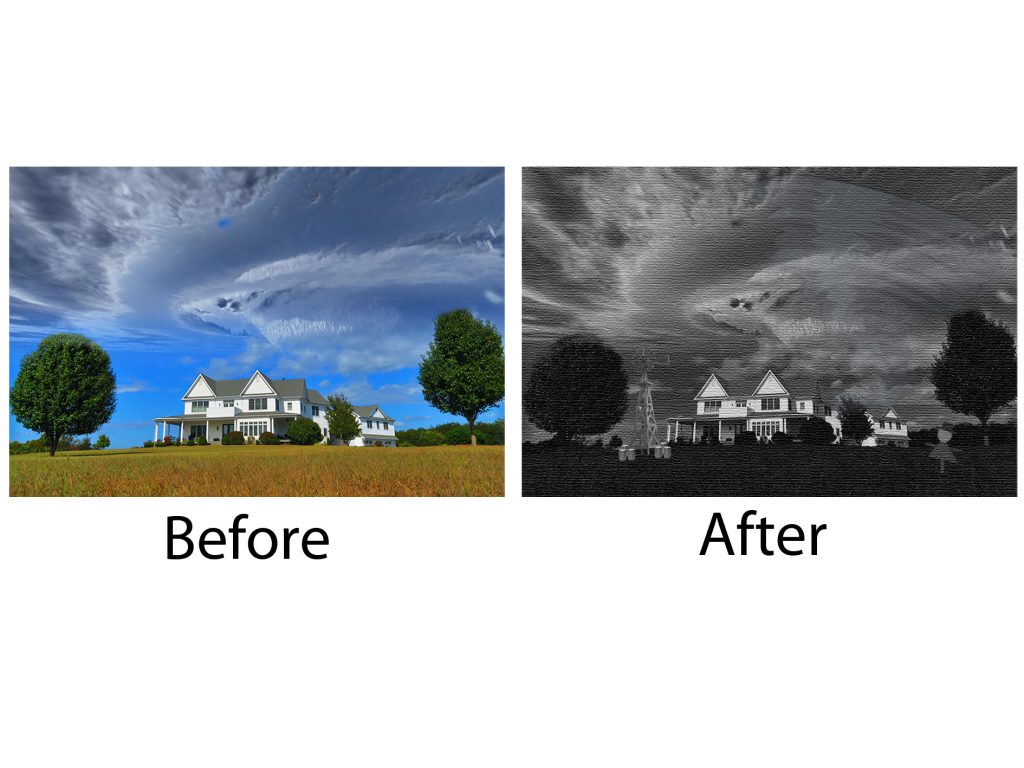
For that week’s weekly challenge I was tasked to make a happy image look more gloomy or scary, or vice-versa. I wanted to change the happy into a gloomy by making it look strange by adding new images in the picture when in reality, those items are not there. I am basing my ideas on a game called I’m on observation duty where the player is given a task to monitor cameras in a local setting to find anomalous events happening on the cameras. Those anomalies include added objects, moving objects, ghosts and even intruders. I added items that fit in that specific scenery. The setting I went for is a farm setting. Originally, the image is happy and sunny but I turned it gloomy.
This is the original picture:
For this picture, I used my Photoshop knowledge to edit. I use techniques like desaturating the picture and making it look grainy and wet similar to what happens on a rainy day. Those are the images are listed below:
I also used basic photoshop shapes to create a make shift scarecrow that will be hidden within the image. I used the filter tools to create a rainy texture. I have used my knowledge of photoshop to make an image look completely different by using basic tools like the hue-saturation tools and the filter tools. This is what the image looks like after I edited it:
In week 2, I was given a task during my lecture to learn and create an artwork that has the technique of photo bashing. Photo Bashing is a style people use to create concept art and can be used as inspiration for the creation of games, films and other media.
Weekly challenge
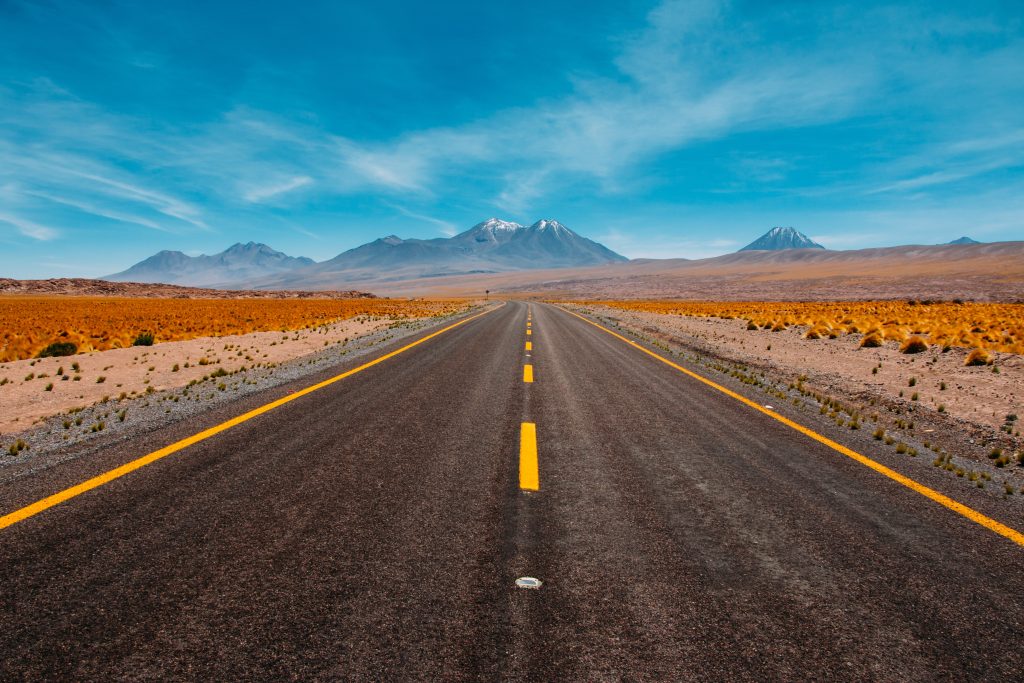
When creating my photo bashing image I wanted to create something that physically doesn’t make sense. I looked for different setting images until I came across a desert-like area and decided to use this for my scene whilst completing my weekly challenge.
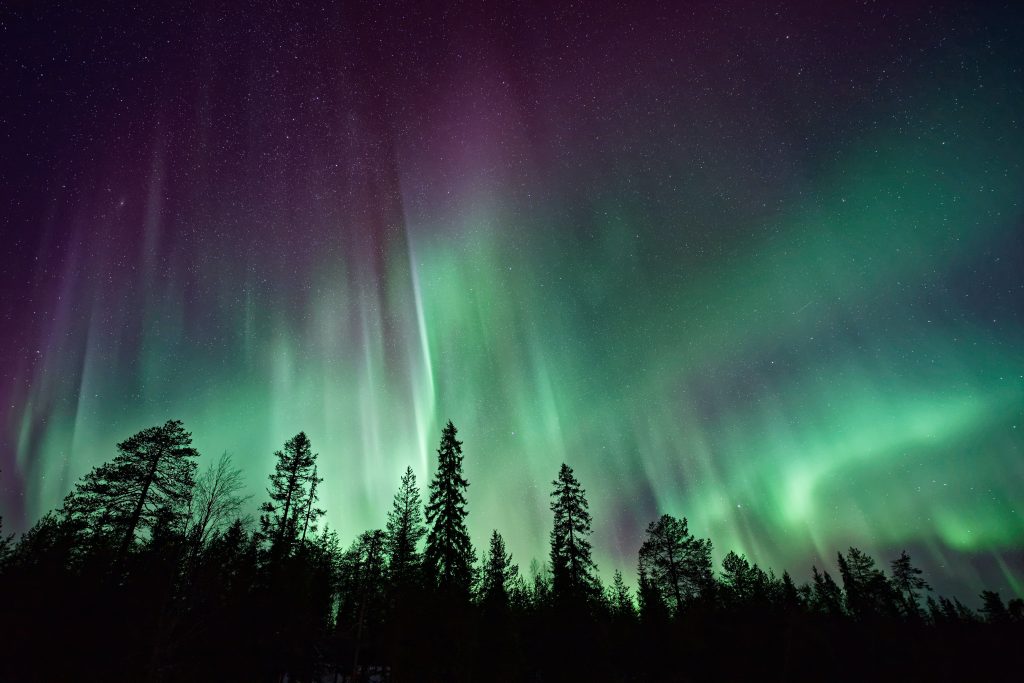
I found this image in a website called Unsplash. Unsplash is a website that provides free downloadable high quality images. I found a really cool desert image and started to edit the scene. I began with removing the sky and replacing it with an aroura borealis or more commonly known as the Northern Lights.
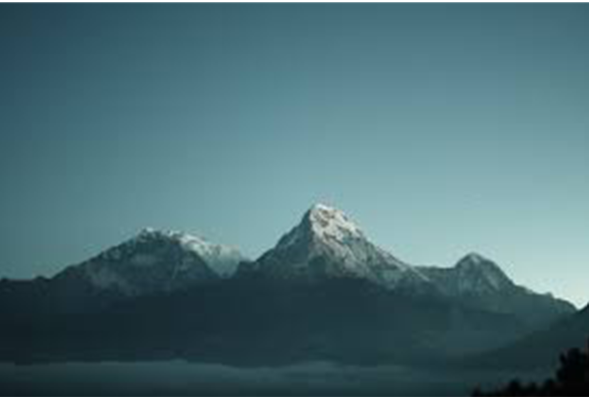
I wanted to also add a little mystery in my photo bashing and increased the hue-saturation of the aroura borealis. I then went on google in search for mountain ranges and found a great-looking one to add onto my finalised image.
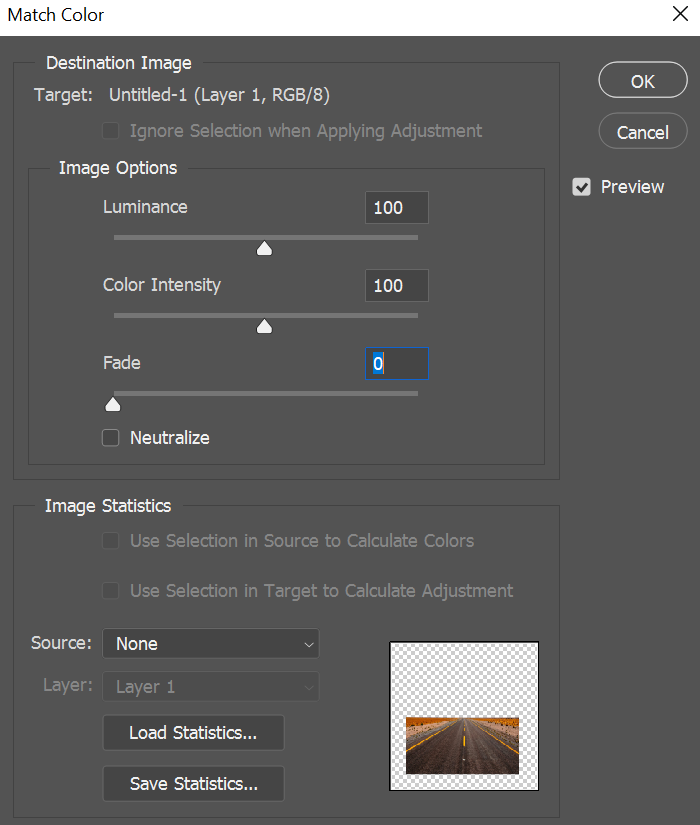
After I found this Mountain range, I then mashed the background aroura borealis with the mountain range and the foreground of the desert together to create a scene. I then used a Match Colour tool to create a colour link for two different pictures and allows me to illuminate and Intensify an image.
I then looked for two different images to make the image more mysterious. One of the images I have found was a picture of the moon. I spent some time editing the moon to make it look broken similar to the anime Assassination classroom. The second picture is a grandfather clock and made it look like a ghost by using the blending tools. I was inspired by Stranger Things when making this image concept.
I have completed the photo bashing weekly challenge an have enjoyed doing this challenge. I have learned new thing for example, using the colour matching tool to perfectly match two differently coloured pictures.
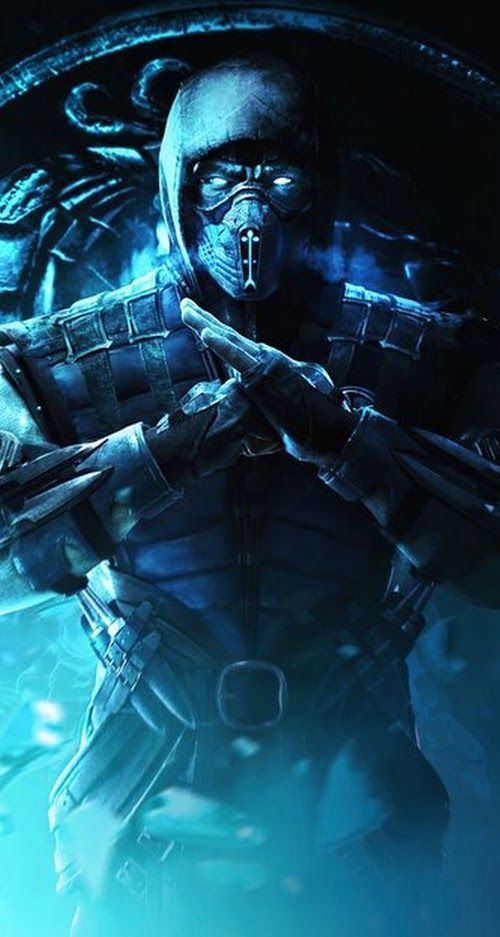
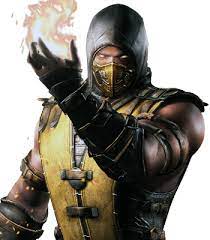
For my first ever weekly challenge I did in university, I have created a character themed from an apocalyptic wild west. When I was creating this character, I took some inspiration of known game characters. Those characters include Scorpion/ Sub-Zero from the Mortal Kombat games and Octane from Apex Legends.
Character Creation
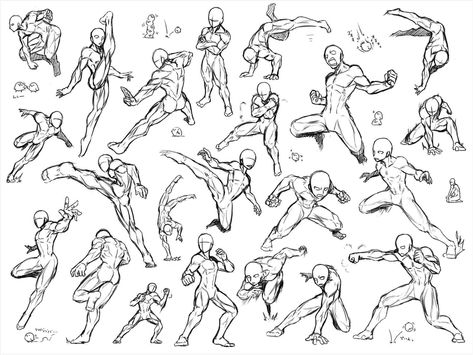
After finding a bit of inspiration, I decided to go to a website called Pinterest where I found a bunch of fighting pose references. It made me think about what poses the character I create. Ever since I made an account on Pinterest, I have been using it for character poses and inspiration ever since.
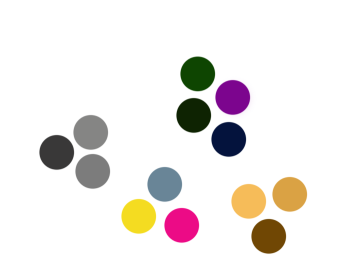
I then launch Photoshop and start using the paint brush tool to create a rough outline of the character (adding specific bits later). I then created a colour pallet for skins, clothing, and extra within Photoshop.
I then started creating my character mainly using the paint tool. I wanted to make the character wear something light because he lives in a post apocalyptic wild west area where it’s hot and dry. I also wanted this character to have a liking to a game character he likes back when before the apocalypse happened. During the colouring of my character I have always kept in mind to create shadows, cloths creases and lighting within the character creation.
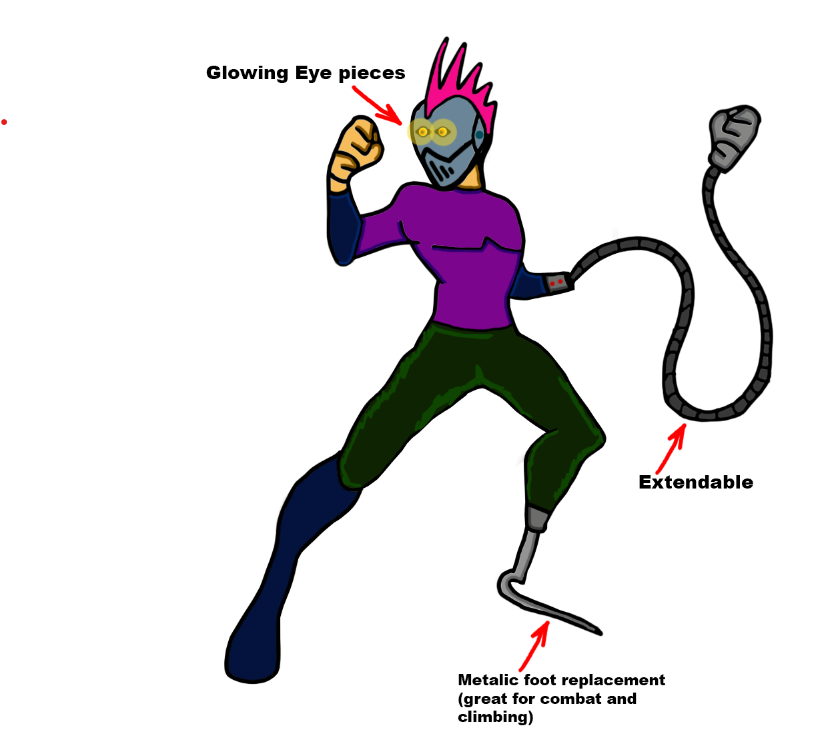
I wanted to create spice within the style of my character. For example, I added a mask with glowing eyes, extendable arms and a prosthetic leg made out of stain-less steel (This character likes Mortal Kombat so he made himself fit with the world he lives in).
This is the outcome of the weekly challenge. I have used darker shades of colour to create clothing creases and shade. I have also added some text that annotates the extra parts of the character’s abilities. I added a hot pink mohawk because its a contrasting colour to the metallic blue mask. Overall I have enjoyed making the character and love designing its style. What I can do to make it better will be the idea of adding more shadow and use more lighting within the art piece.